https://ift.tt/pcHSrjy Python is one of the most powerful programming languages, mostly used in data science, machine learning, and big dat...
Python is one of the most powerful programming languages, mostly used in data science, machine learning, and big data analytics. So, knowing how to install Python on Mac is essential for all programmers using an Apple product. If you're just starting out, you may be wondering how to do this properly. Here, we'll walk through the different ways of installing and updating Python on macOS.
Then, to see how to write and run some Python code in an integrated development environment (IDE), we will learn how to install and configure Visual Studio Code on Mac. There are different methods for installing Python on Mac, but let's stick to the third principle of the Zen of Python that says: "Simple is better than complex." Accordingly, we will try simple methods rather than complex ones. Before we jump into learning how to install Python on Mac, let's review what we're going to discuss in this tutorial:
- Installing Python on Mac
- Setting Up Your Python Environment
- Installing Visual Studio Code on Mac
- Running Your First Python Script on Mac
Installing Python on Mac
First up, let's talk about the current state of Python installation on Mac. Unlike older versions of macOS that came with Python 2.7 pre-installed, newer macOS versions (Catalina and later) no longer include Python pre-installed. This is actually good news, as it gives you a clean slate to install Python on macOS without worrying about conflicts with legacy versions.
For this tutorial, we'll be working with Python 3.10, which is fully supported and stable. It's worth noting that Python 3.13 is the latest available version as of this writing, with Python 3.14 scheduled for release later this year. However, the steps to download Python on Mac remain the same regardless of which Python 3.x version you choose to install.
Programming languages evolve by adding new features over time. Python has seen significant improvements in recent versions, including better performance, enhanced type hinting capabilities, and new syntax features that make your code more concise and readable. Let's look at the most common ways to install Python on your Mac.
Method 1: Installing Python Using Homebrew (Recommended)
Homebrew is a popular package manager for macOS that makes installing and managing software incredibly easy. This is now the preferred method for many developers because it simplifies updating Python and installing additional packages. Here's how to do it:
- First, install Homebrew if you don't have it already. Open a Terminal window and paste the following command:
/bin/bash -c "$(curl -fsSL https://raw.githubusercontent.com/Homebrew/install/HEAD/install.sh)"
- Once Homebrew is installed, install Python by typing:
brew install python@3.10
- After installation completes, verify it worked by typing:
python3 --version
You should see output indicating that Python 3.10.x is installed.
Method 2: Installing Python Using the Official Installer
If you prefer not to use Homebrew or need a specific Python distribution directly from the source, downloading Python on Mac from the official Python website is also a reliable method. This method gives you the exact version released by the Python Software Foundation without any modifications.
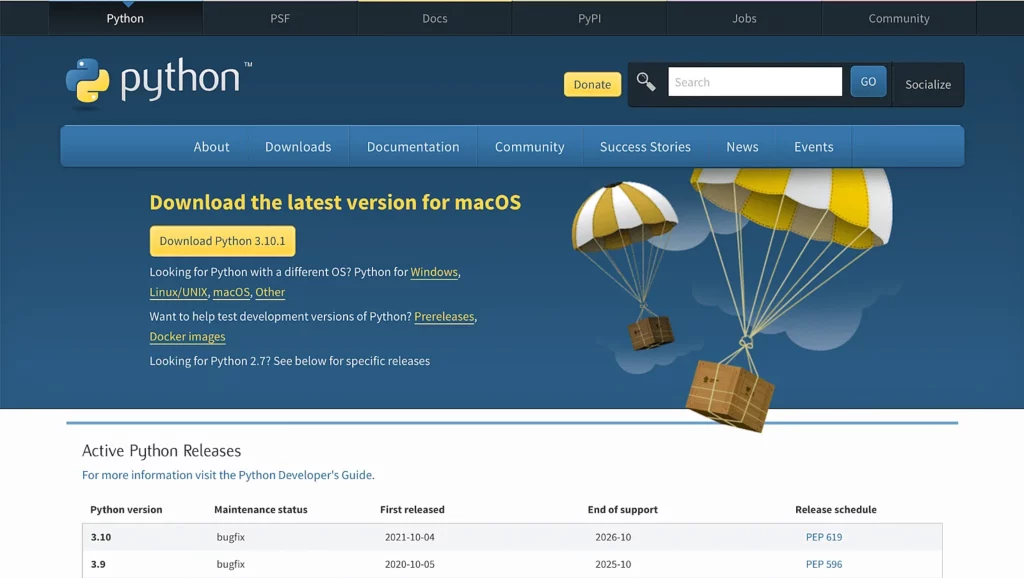
1. First, download an installer package from the Python website. To do that, visit https://www.python.org/downloads/ on your Mac; it detects your operating system automatically and shows a big button for downloading the latest version of Python installer on your Mac. If it doesn't, click the macOS link and choose the latest Python release.
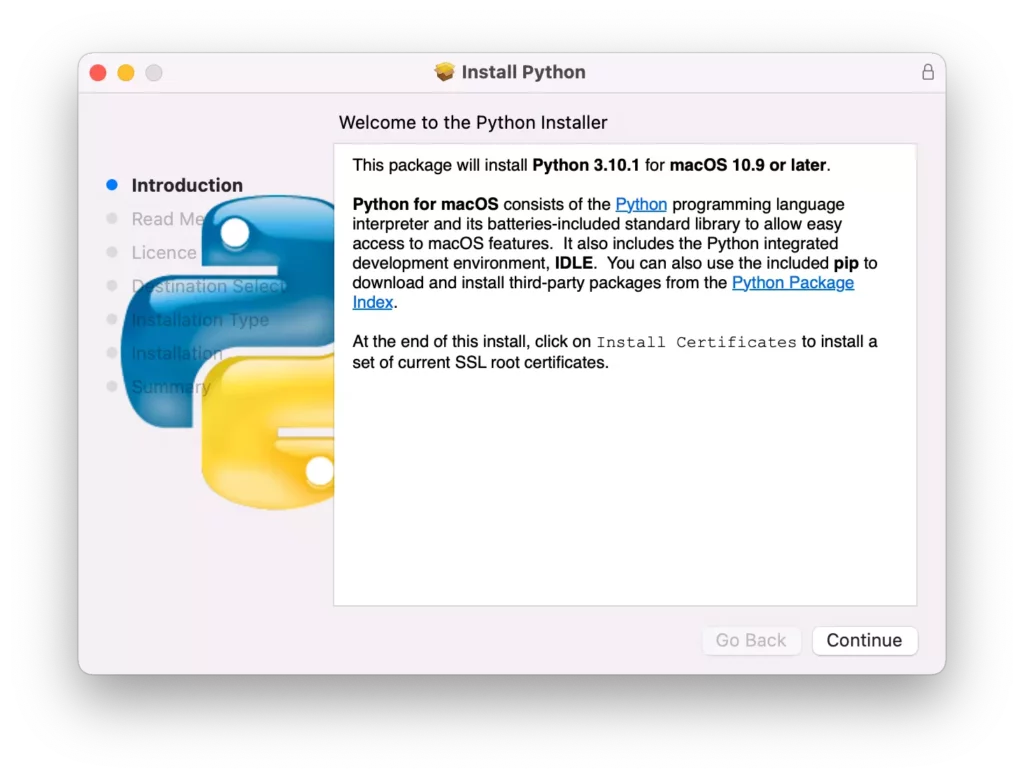
2. Once the download is complete, double-click the package to start installing Python. The installer will walk you through a wizard to complete the installation, and in most cases, the default settings work well, so install it like the other applications on macOS. You may also have to enter your Mac password to let it know that you agree with installing Python.
NOTE: If you're using an Apple Silicon Mac (M1/M2/M3), make sure to download the universal installer that supports both Intel and Apple Silicon architectures. Modern Python installers include native support for Apple Silicon.
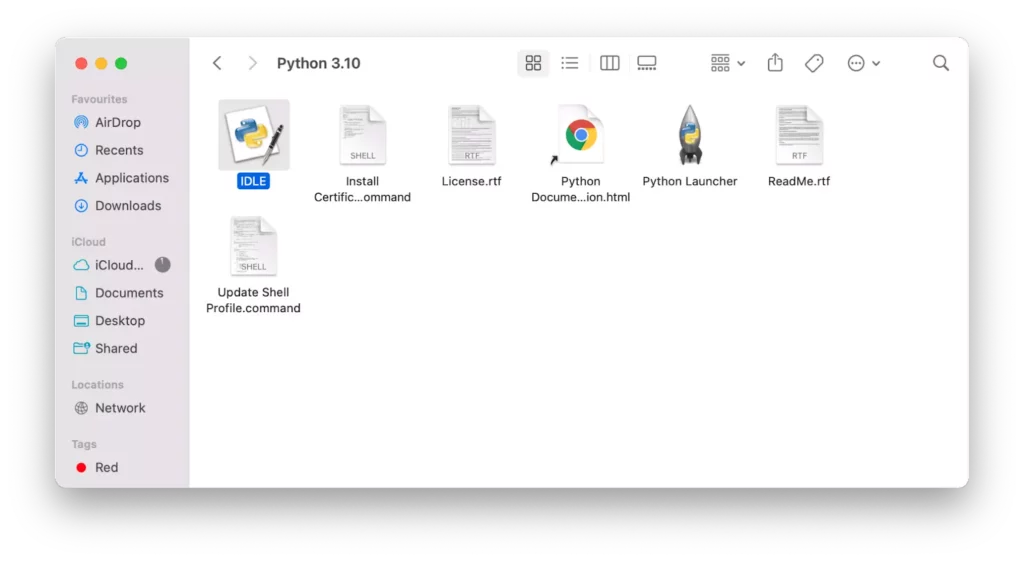
3. When the installation completes, it will open up the Python folder.
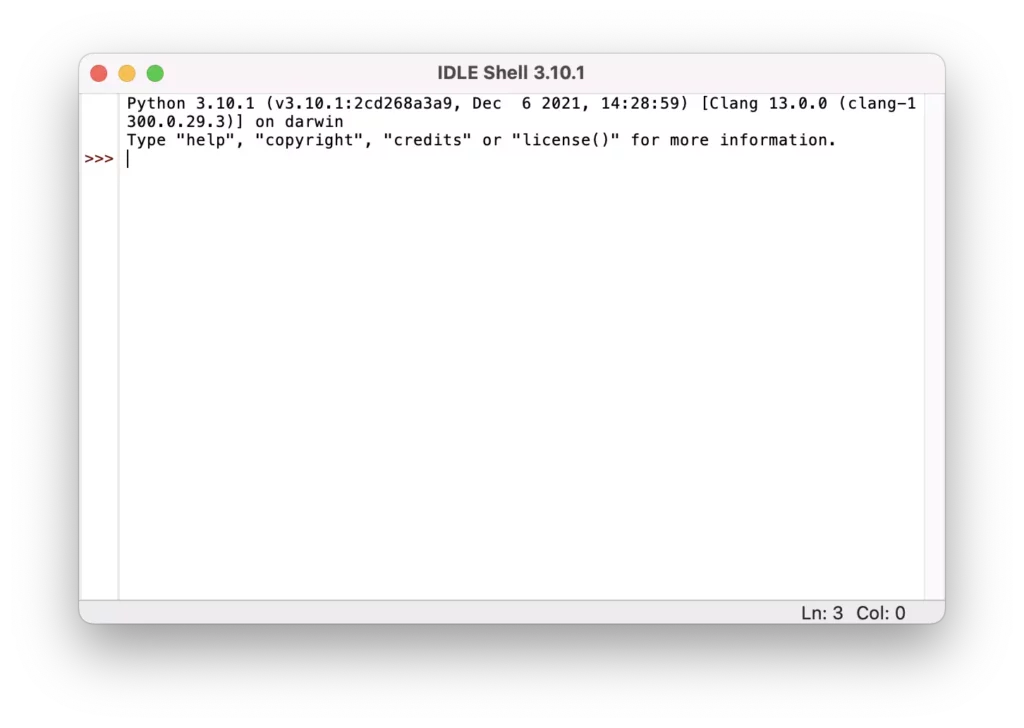
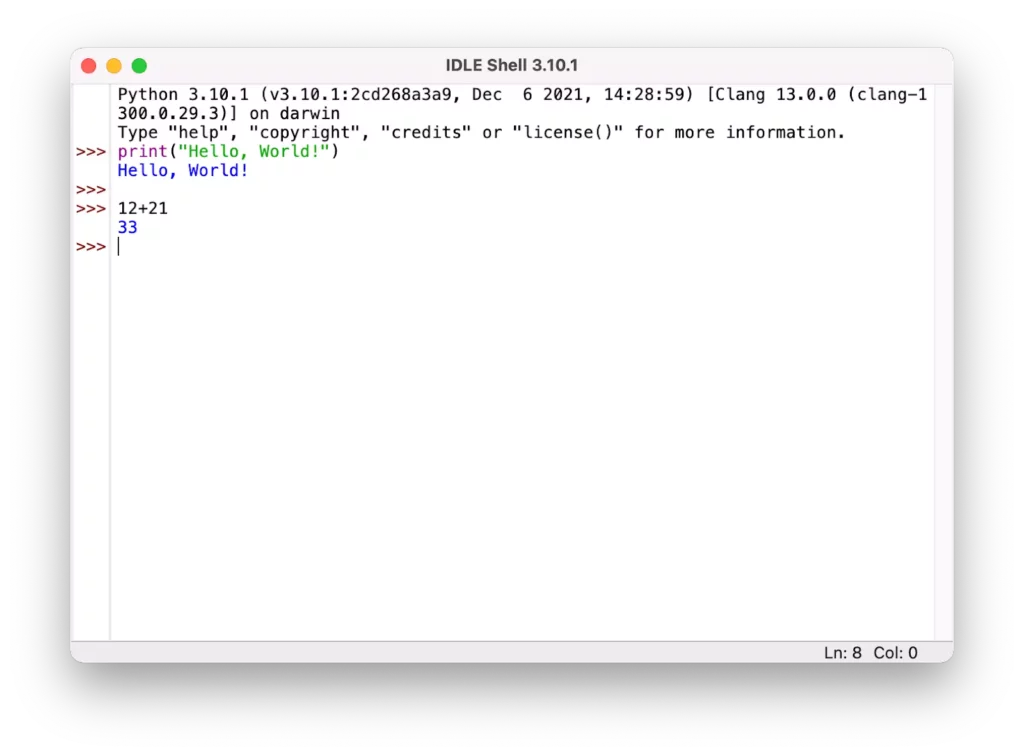
4. You can verify that Python installed correctly by opening IDLE, which is the integrated development environment that comes with Python. If everything works correctly, IDLE shows the Python shell as follows:
5. Let's write a simple Python code and run it in IDLE. Type the following statement, and hit the return key.
print("Hello, World!")
Or let's do a basic calculation in Python as follows:
NOTE: The advantage of this installation method is that you can easily update an outdated Python install by downloading the latest Python installer. The new version of Python is available on your Mac once the installation is complete.
Setting Up Your Python Environment
Once you've installed Python using one of the methods above, you might want to explore some additional tools that will make your Python development experience better. These tools help you manage different Python versions and keep your projects' dependencies isolated.
Managing Multiple Python Versions with pyenv
If you work on different Python projects, you might find yourself needing different Python versions. This is where pyenv comes in handy. It's a tool that allows you to install and switch between multiple Python versions effortlessly.
- Install
pyenvusing Homebrew:brew install pyenv
- Add
pyenvto your shell configuration. Forzsh(default in newer macOS), add these lines to your~/.zshrcfile:echo 'export PYENV_ROOT="$HOME/.pyenv"' >> ~/.zshrc echo 'export PATH="$PYENV_ROOT/bin:$PATH"' >> ~/.zshrc echo 'eval "$(pyenv init --path)"' >> ~/.zshrc
- Install the Python version you need:
pyenv install 3.10.x
- Set it as your global Python:
pyenv global 3.10.x
Working with Virtual Environments
Virtual environments are an essential tool for modern Python development. They create isolated spaces where you can install packages without affecting your system-wide Python installation. This prevents dependency conflicts between different projects.
Here's how to create and use a virtual environment:
- Create a new virtual environment (feel free to replace "my_project_env" with whatever you'd like to name your project environment):
python3 -m venv my_project_env
- Activate the virtual environment:
source my_project_env/bin/activate
- Your terminal prompt will change to show the active environment. Now you can install packages that will only affect this environment:
pip install package_name
- When you're done, deactivate the environment:
deactivate
Installing Visual Studio Code on Mac
Now that we have Python installed and our environment set up, let's install Visual Studio Code (VS Code), which has become the most popular IDE for Python development thanks to its excellent Python support, lightweight nature, and extensive extensions.
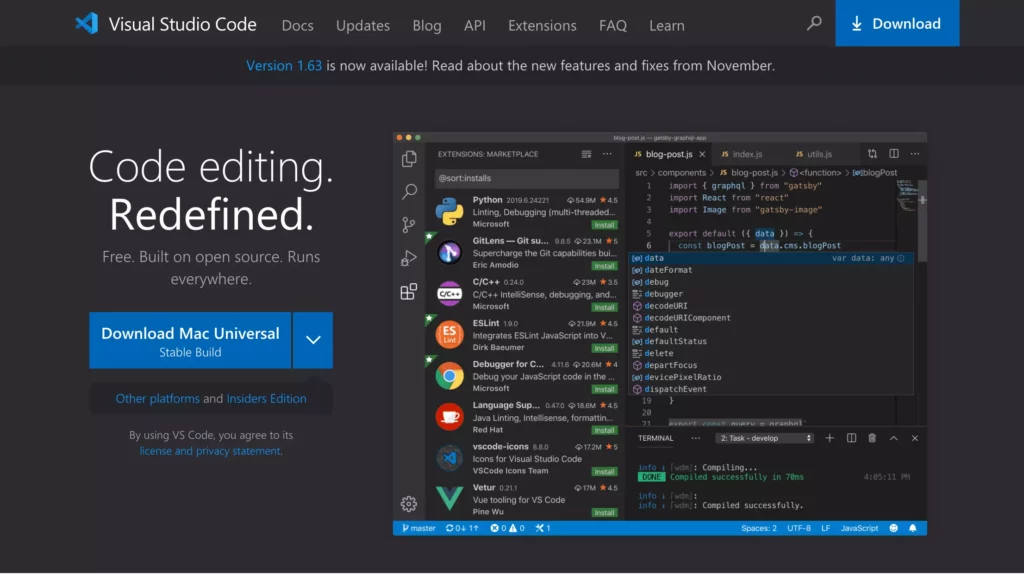
1. First, you need to download Visual Studio Code for macOS from its official website at https://code.visualstudio.com/.
2. Double-click the downloaded file to extract the archived contents.
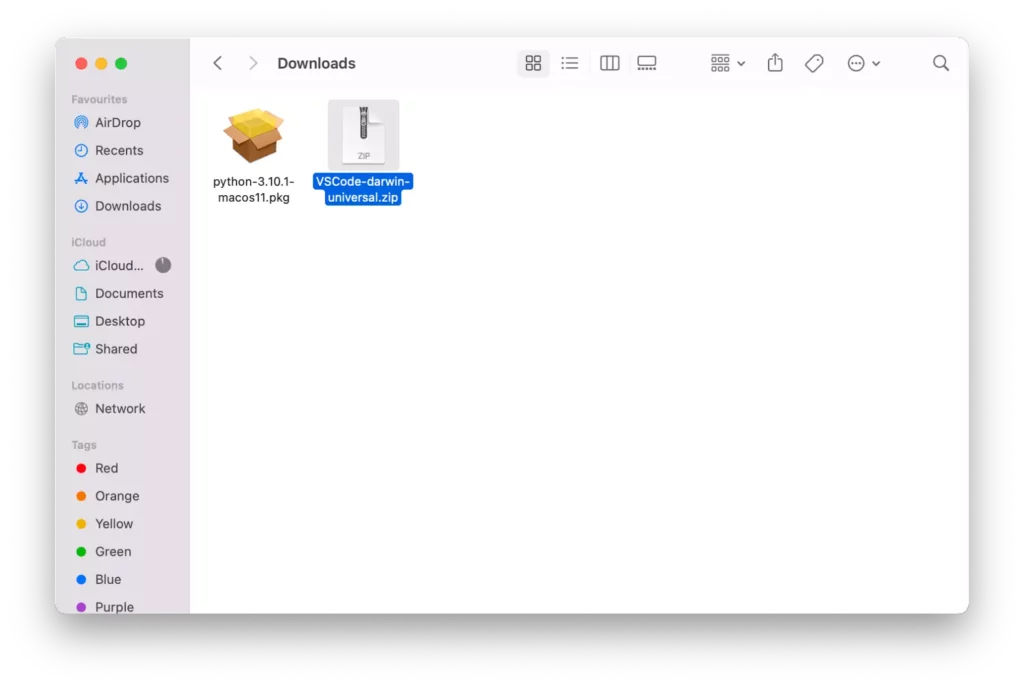
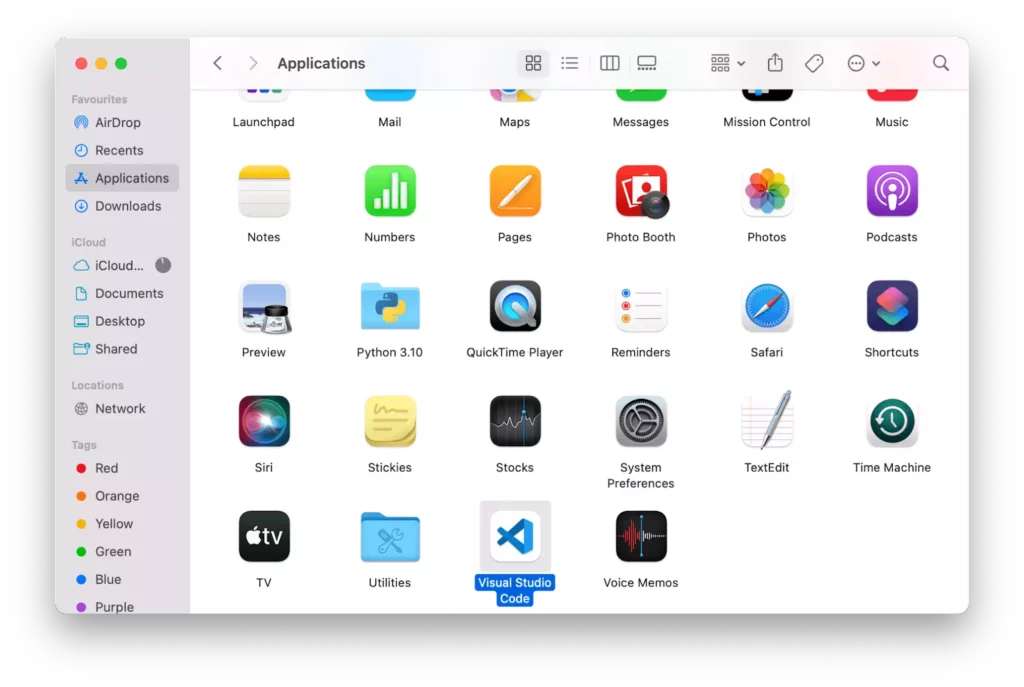
3. Move the Visual Studio Code application to the Application folder to make it available in the macOS launchpad.
4. Launch Visual Studio Code, and then open a folder where your Python scripts will exist (or create a new one). For example, create a new folder on your Desktop, and name it py_scripts, then try to open the folder on VS Code. Usually, VS Code needs your permission to access files in your Desktop folder; click OK.
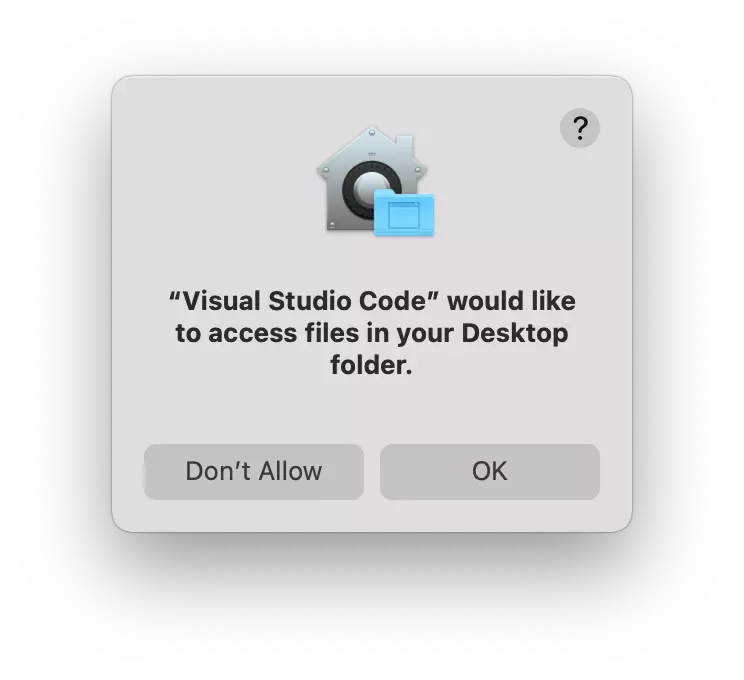
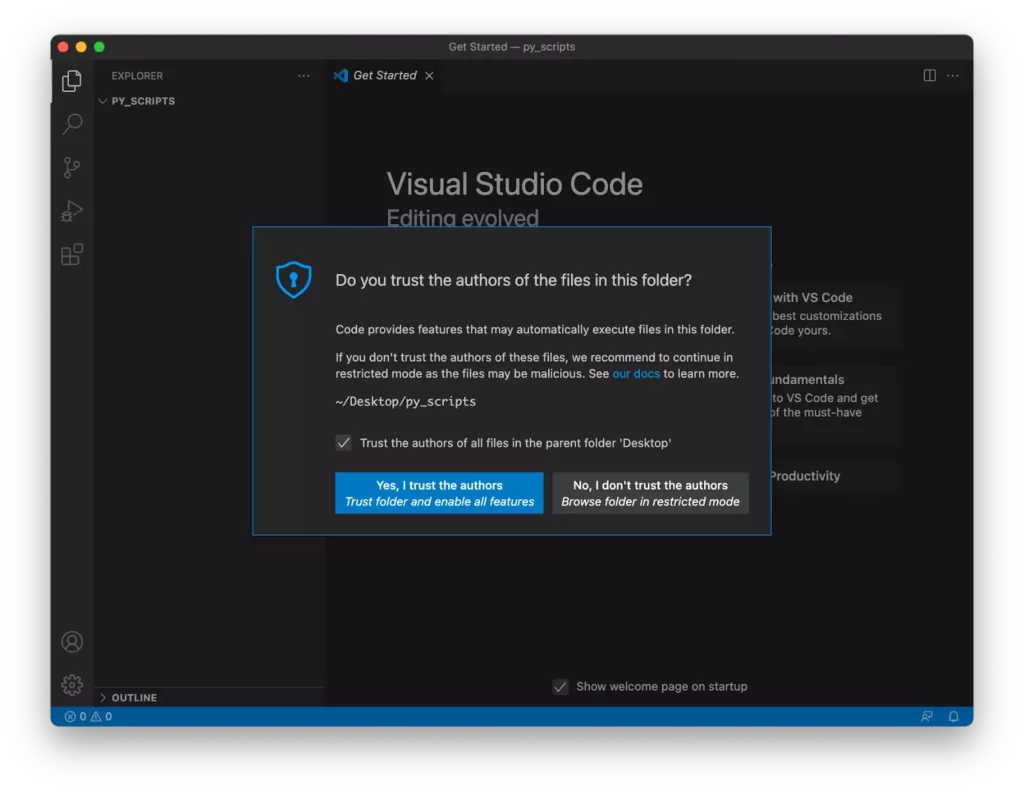
Also, you may need to declare that you trust the authors of the files stored in your Desktop folder.
5. Create a new file with a .py extension. For example, create a new file, and name it prog_01.py. VS Code detects the .py extension and wants to install a Python extension.
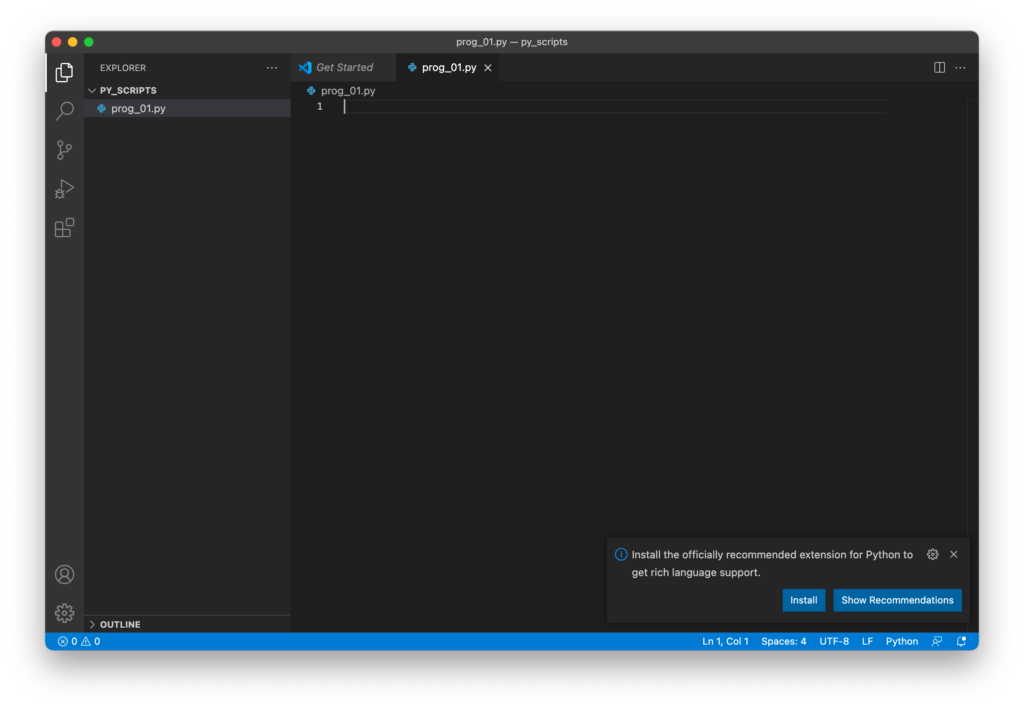
To work with Python inside VS Code, we need to use the Python extension, which includes many useful features, such as code completion with IntelliSense, debugging, unit testing support, etc.
Install it by clicking on the Install button.
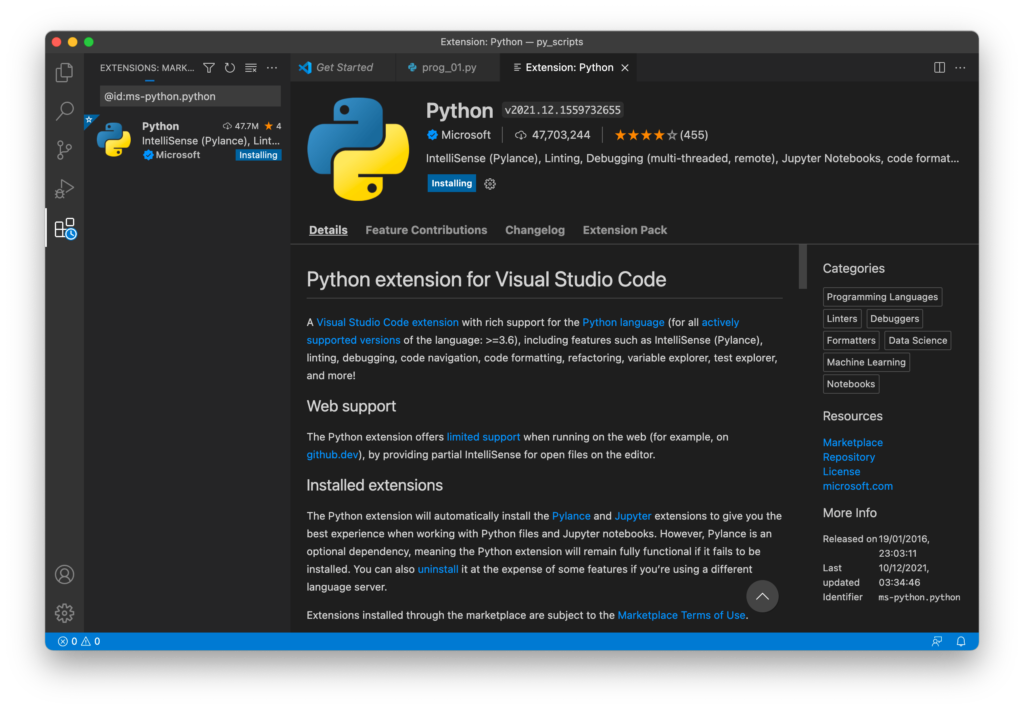
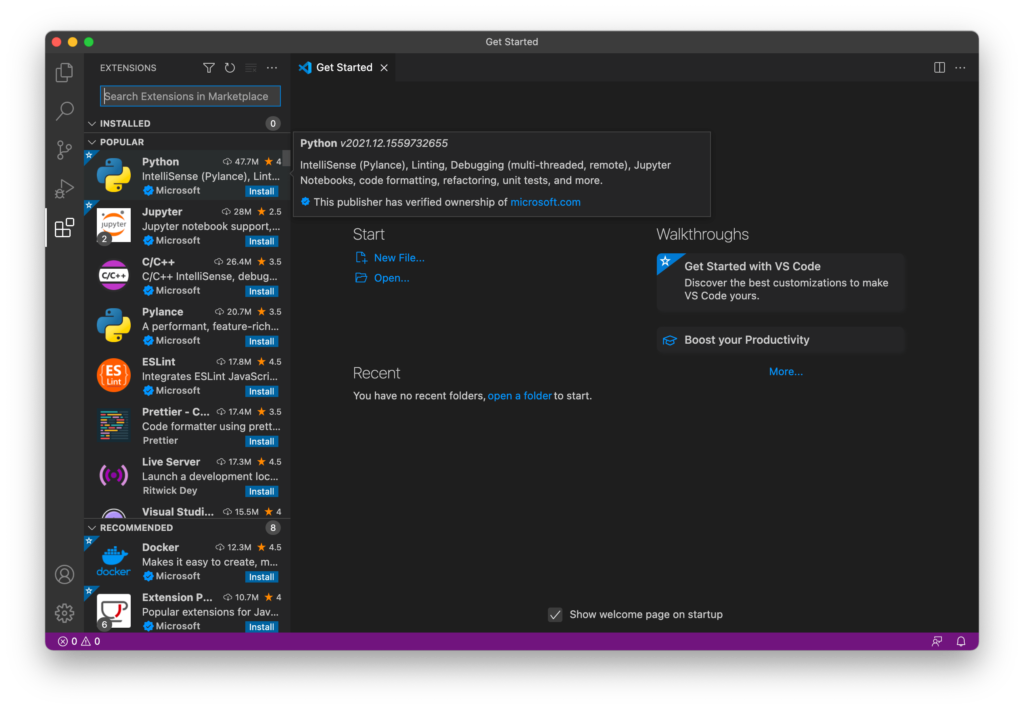
We can also install the Python extension by browsing extensions. Click on the Extensions icon on the left side of VS Code.

This will show you a list of the most popular VS Code extensions on the VS Code Marketplace. Now, we can select the Python extension and install it.
6. Once the extension is installed, you have to select a Python interpreter. Click on the Select Python Interpreter button:
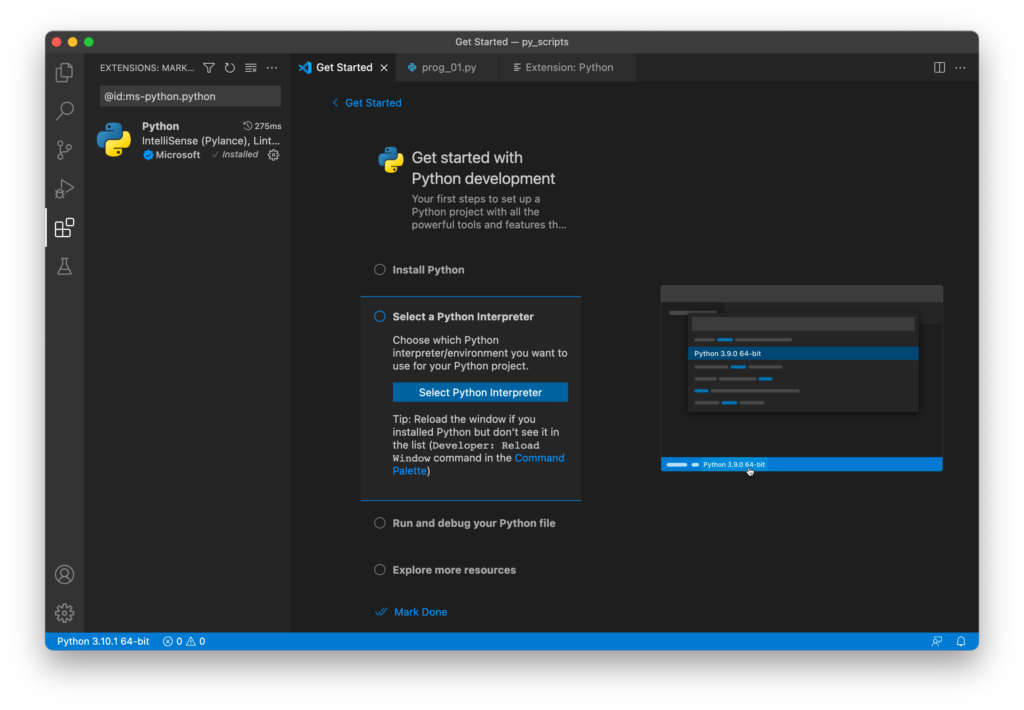
Then select the recommended Python interpreter on the list.
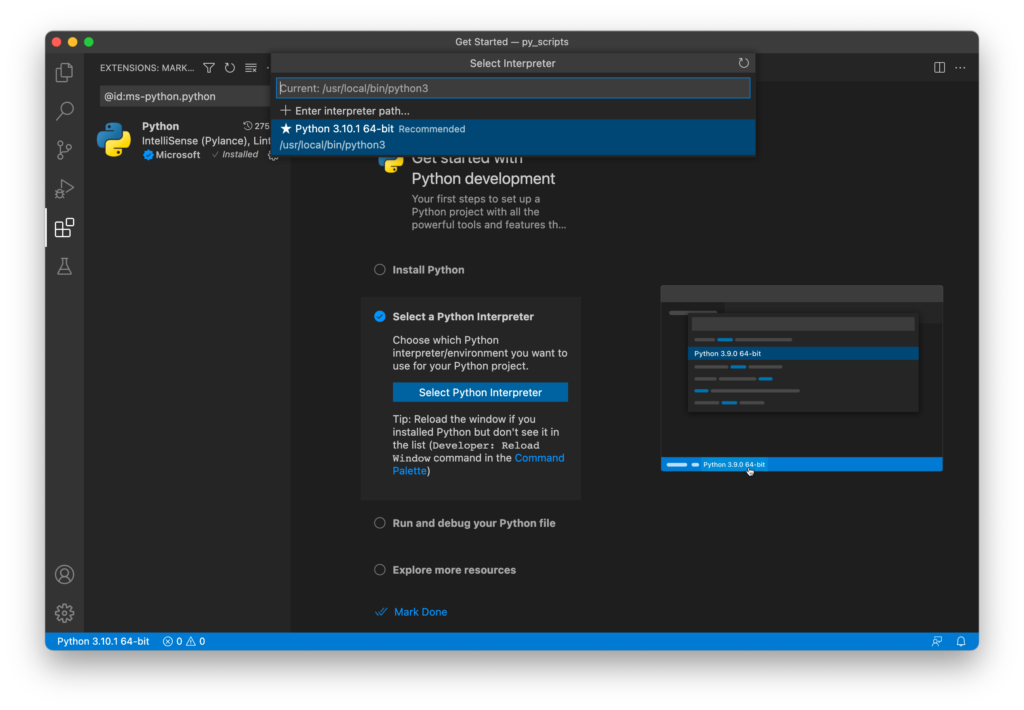
If you have multiple Python versions installed on your Mac, it's better to choose the latest version.
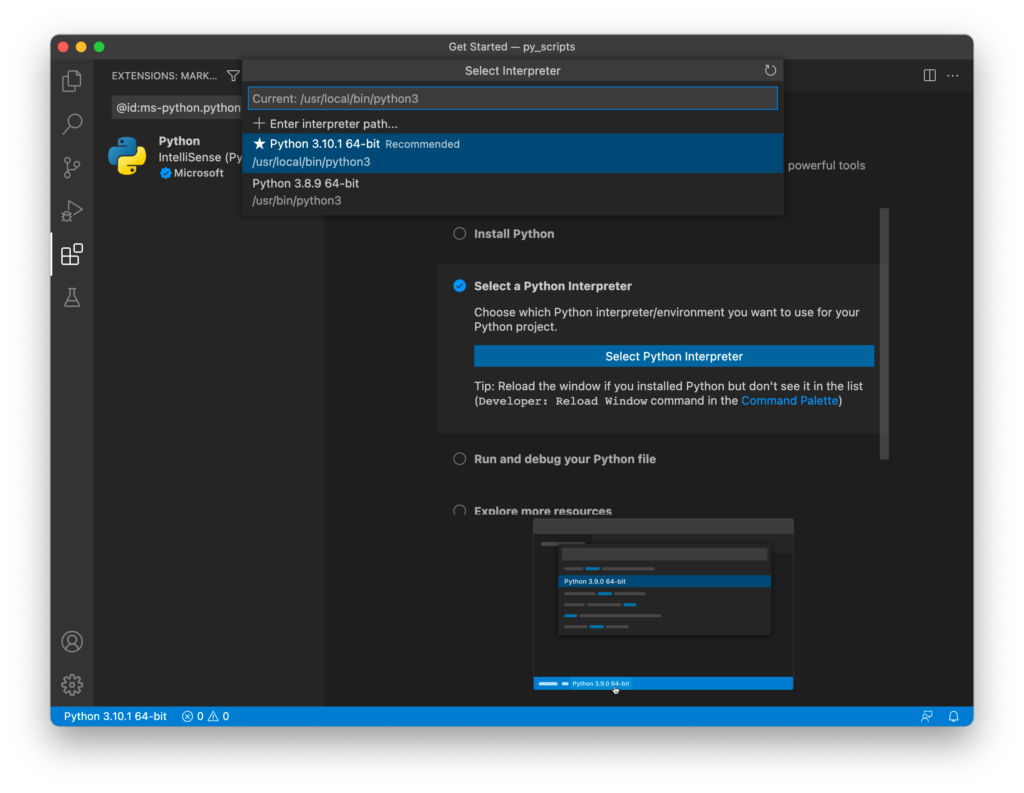
You also can select a Python interpreter using the Python: Select Interpreter command from the Command Palette. To do so, press CMD + SHIFT + P, type Python, and choose Select Interpreter.
Running Your First Python Script on Mac
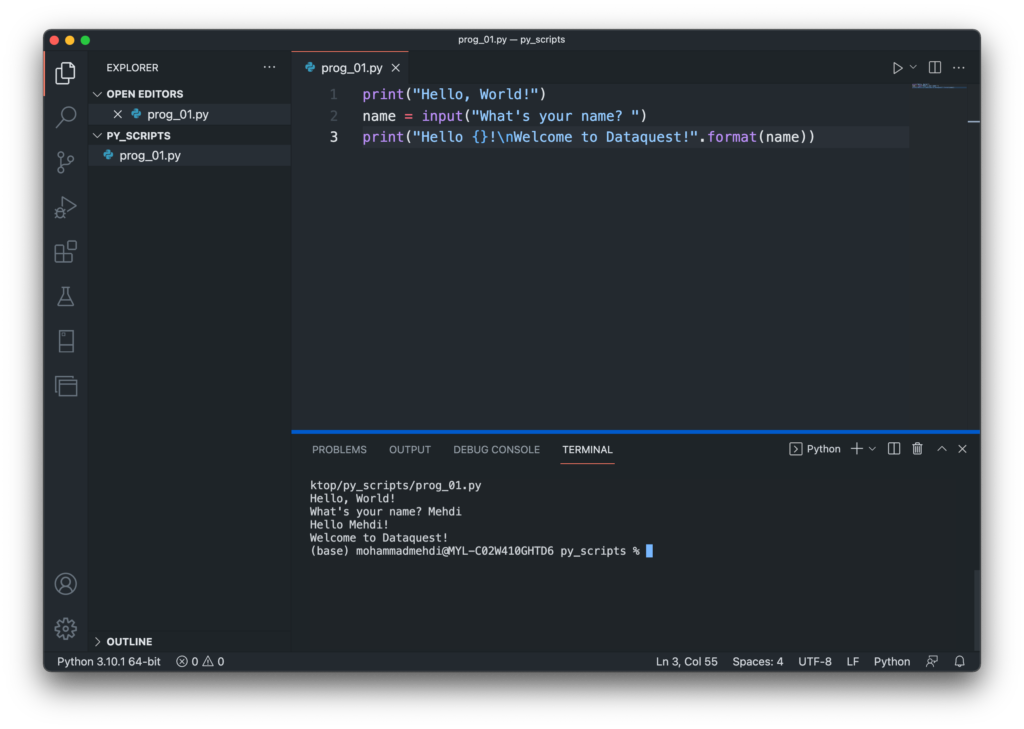
Excellent, we have everything we need to write and run our Python code inside VS Code. Let's write the following code in VS Code and then run it.
print("Hello, World!")
name = input("What's your name? ")
print("Hello {}!\nWelcome to Dataquest!".format(name))
Run the code by clicking the ▶️ button at the top right corner of VS Code. First, it displays Hello, World! in the integrated terminal, then the program asks for your name; enter your name, and hit return. At this point, the program will greet you by name and welcomes you to Dataquest!
Debugging Your Python Code in VS Code
One of VS Code's strengths is its debugging capabilities. Here's how to debug your Python code:
- Set a breakpoint by clicking to the left of the line number where you want execution to pause.
- Press F5 to start debugging.
- Use the debug toolbar that appears to step through code, inspect variables, and more.
- Hover over variables to see their current values, or use the Variables pane in the Debug sidebar.
Final Thoughts
In this tutorial, we learned how to install Python on Mac using both Homebrew and the official Python installer. We also explored how to set up an effective Python development environment with tools like pyenv for version management and virtual environments for project isolation. Additionally, we learned how to install Visual Studio Code as a code editor and configure it for running Python scripts. Finally, we wrote a small Python script in VS Code and ran it successfully.
Modern Python installation on macOS has become much more streamlined, with tools like Homebrew and pyenv simplifying the installation and management process. Virtual environments are now a standard practice for keeping your Python projects isolated and maintaining dependency compatibility.
If you'd like to learn more, check out Dataquest's interactive Introduction to Python course, and our Data Analyst in Python, and Data Scientist in Python paths that will help you become job-ready in a matter of months.
from Dataquest https://ift.tt/fO917aT
via RiYo Analytics


No comments