https://ift.tt/oZDBC62 Finding “m²” Details on a Floorplan Using Unsupervised Learning With opencv, pytesseract, scikit-learn and pandas ...
Finding “m²” Details on a Floorplan Using Unsupervised Learning
With opencv, pytesseract, scikit-learn and pandas

Browsing a property online offers countless benefits as a result of personalised filters one can apply on the search. However, there is one very important filter that is missing (at least for the UK based property search websites like [1], [2]): square footage split of the property.
There has been many cases where I would find a property to be great (size, location, price etc.) until I see its floorplan details. If we could filter the property results based on the sqm of rooms, that’d save us lots of time. Consequently, I decided to do an experiment on how one could extract all the “m²” details on a floorplan for a given property ad.
Introduction
In this post, I read an online floorplan image and process it, then explain why I use an unsupervised learning algorithm to group relevant text blocks together, demonstrate further cleaning and test the results for a few different floorplan images. In the conclusion section, I mention the limitations I come across and any room (metaphorical) for improvements.
Steps:
Step 1: Read and process input floorplan image (opencv)
Step 2: Detect characters and their position (pytesseract)
Step 3: Cluster characters (scikit-learn)
Step 4: Process clusters (pandas)
Tests: Other floorplan images
Import Libraries
We need the following:
from matplotlib import pyplot as plt
import cv2
import numpy as np
import pandas as pd
pd.set_option('display.max_rows', 500)
pd.set_option('display.max_columns', 500)
pd.set_option('display.max_colwidth', 500)
%matplotlib inline
plt.rcParams["figure.figsize"] = (40,20)
import pytesseract
pytesseract.pytesseract.tesseract_cmd = r'/usr/local/bin/tesseract/'
from sklearn.preprocessing import StandardScaler
from sklearn.cluster import DBSCAN
Step 1: Read and Process Input Image
We can easily read the floorplan image as follows:
img = cv2.imread('Dummy Floorplanner Input Image.png')
plt.imshow(img)
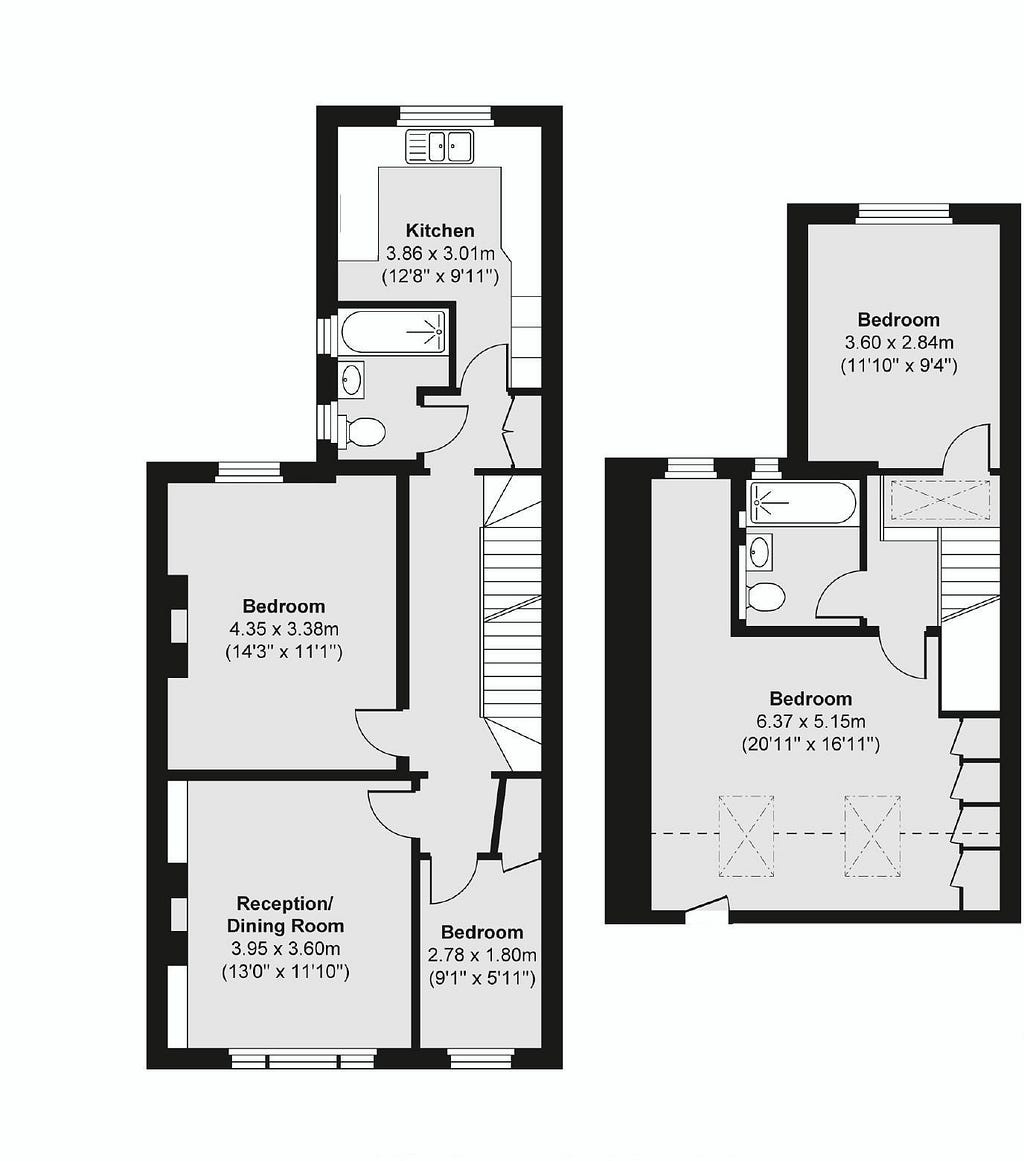
We’re processing the input image so that, when fed into pytesseract, it could reveal more information about the blocks of text on it. Please read below for more information on thresholding.
OpenCV Thresholding ( cv2.threshold ) - PyImageSearch
Our input image looks like the following after processing:
gray = cv2.cvtColor(img, cv2.COLOR_BGR2GRAY)
blur = cv2.GaussianBlur(gray, (3,3), 0)
thresh = cv2.threshold(blur, 0, 255, cv2.THRESH_BINARY_INV + cv2.THRESH_OTSU)[1]
plt.imshow(gray)
plt.imshow(blur)
plt.imshow(thresh)
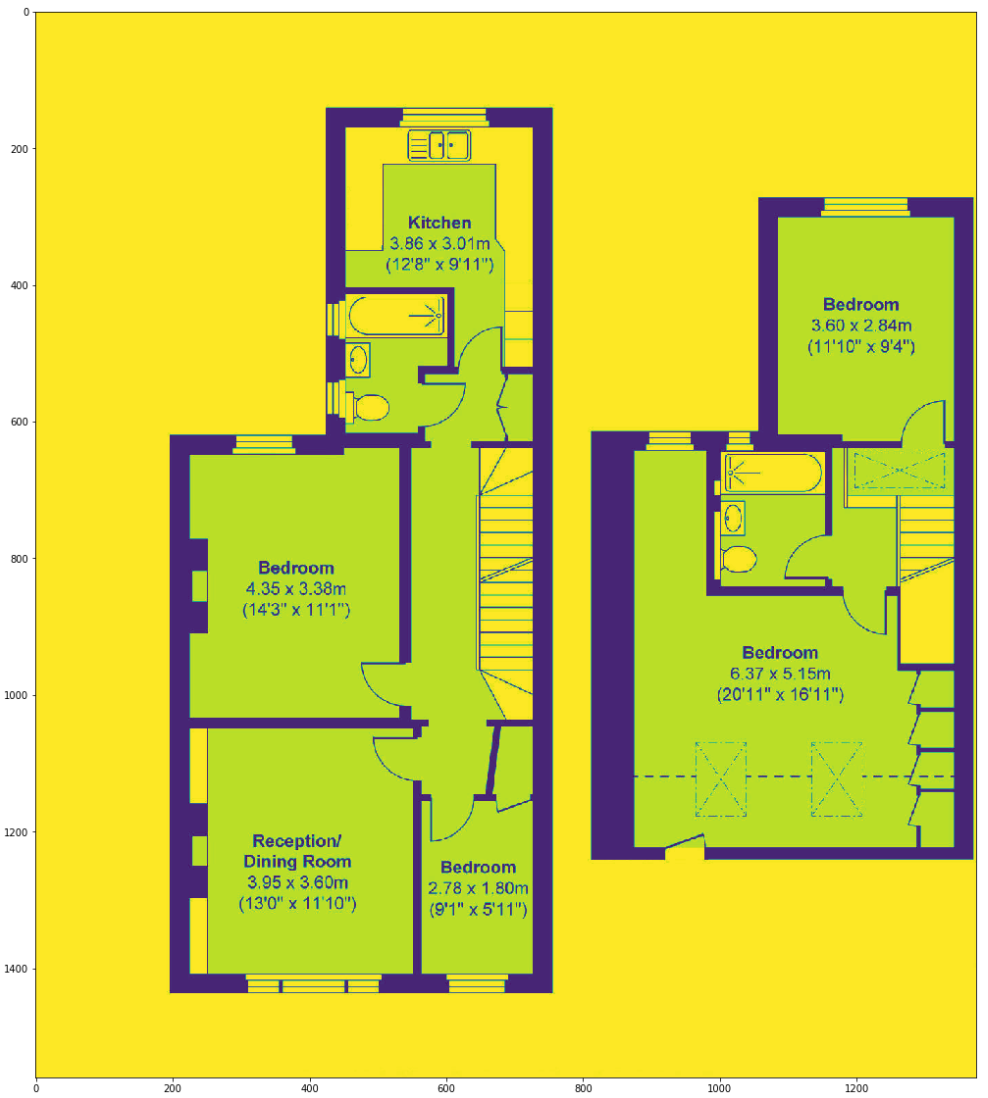
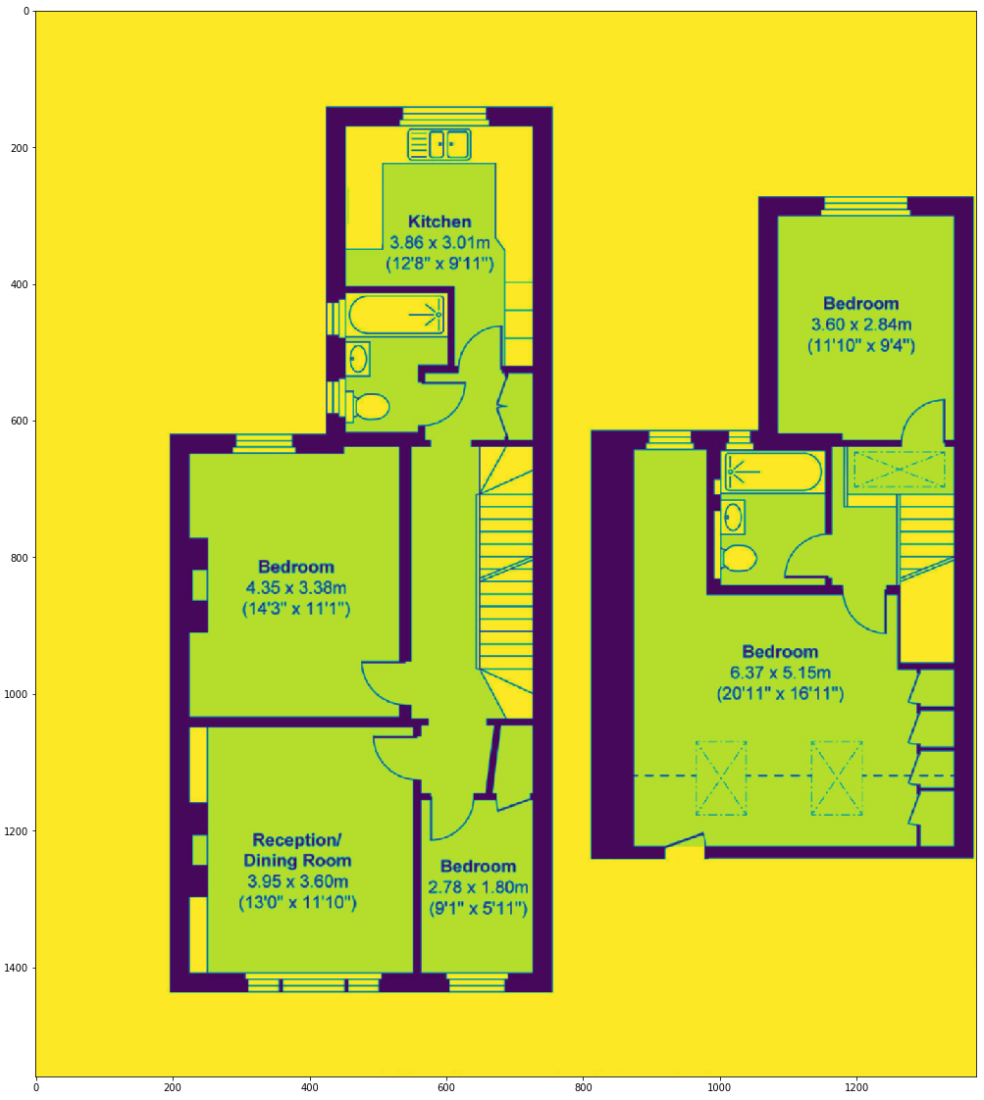
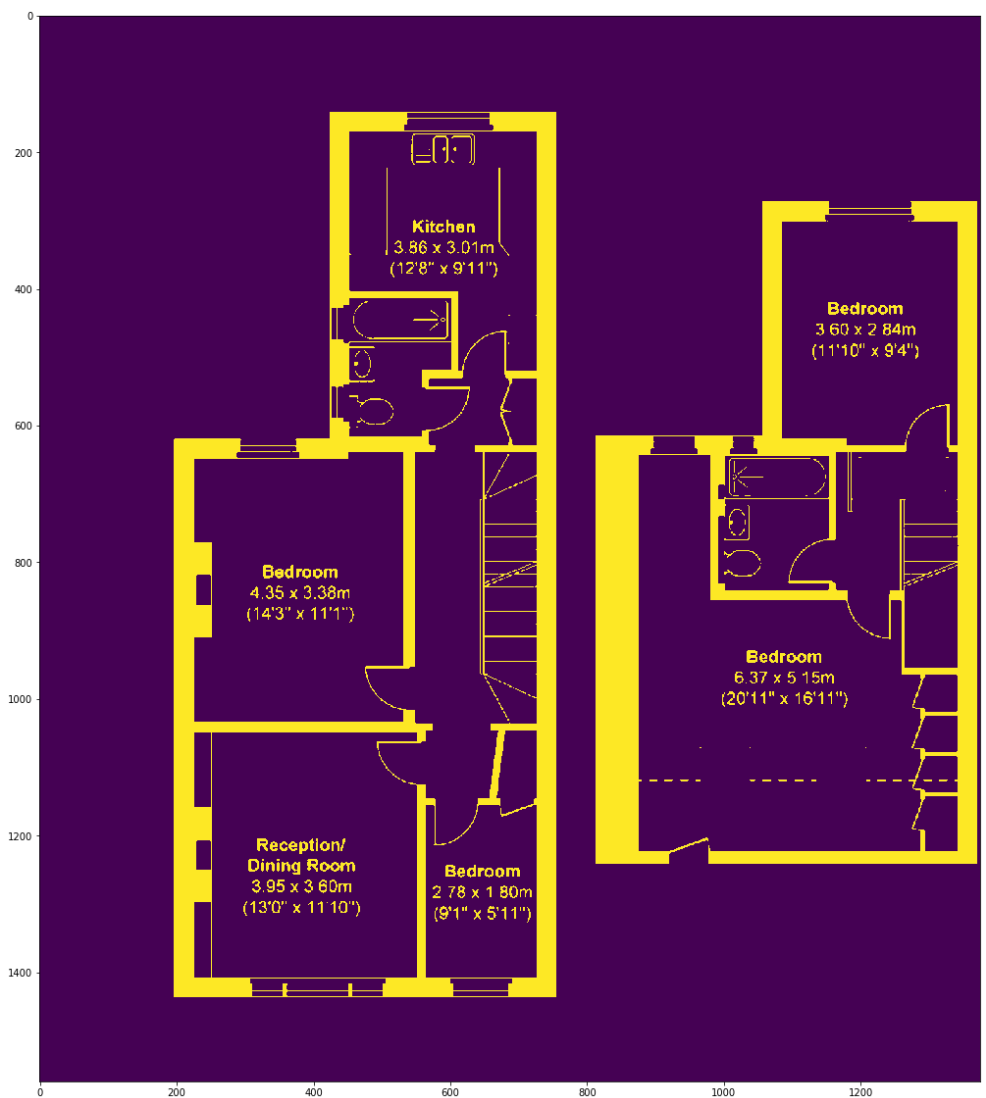
Step 2: Detect Characters and Their Position
Pytesseract starts reading the image pixels from top left to bottom right (like reading a book). Because of that, if one room’s info is on the same horizontal level of another’s, then two rooms’ texts are concatenated for one room, and there is no logical way of parsing the full string correctly as seen below (dining room and bedroom names and dimensions are concatenated).
print(pytesseract.image_to_string(thresh))
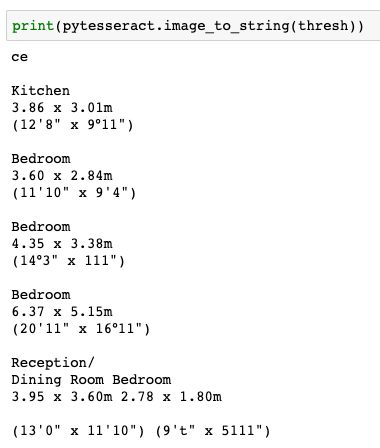
Luckily, there is another pytesseract function (image_to_boxes) that detects every single character and their location on the image.
df_img = pd.DataFrame([x.split(' ') for x in
pytesseract.image_to_boxes(thresh).split('\n')],
columns=['char', 'left', 'top', 'width', 'height', 'other'])
df_img = df_img[ ~ df_img['left'].isnull()]
# dropping whitespace characters like
# [',' '.' '/' '~' '"' "'" ':' '°' '-' '|' '=' '%' '”']
df_img = df_img[ ~ df_img['char'].str.contains(r'[^\w\s]')].reset_index(drop=True)
df_img[['left', 'top', 'width', 'height']] = df_img[['left', 'top', 'width', 'height']].astype(int)
df_img.head(20)
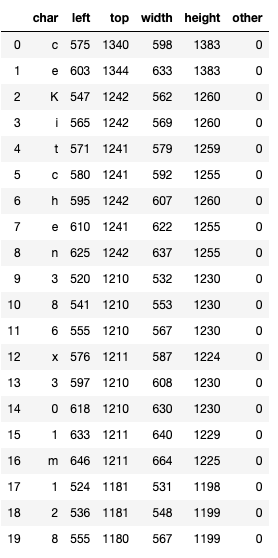
Let’s plot these characters based on their x-y coordinates.
fig, ax = plt.subplots()
ax.scatter(df_img['left'].tolist(), df_img['top'].tolist())
for i, txt in enumerate(df_img['char'].tolist()):
    ax.annotate(txt, (df_img['left'].tolist()[i],
                      df_img['top'].tolist()[i]),

                textcoords='data',

                fontsize=28)
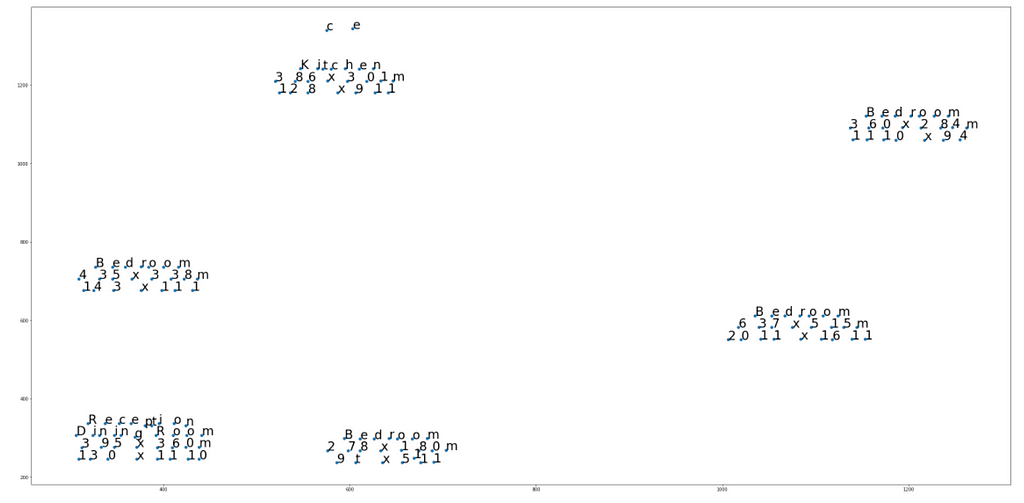
Basically, we need to group the sets of data points (characters) that are within a close distance.
Step 3: Cluster Characters
Please read the following post to learn how DBSCAN works, if needed.
Using DBSCAN, we’re able to group relevent blocks of characters together. When this clustering algorithm predicts a value of -1, that data point is considered to be an outlier.
X = StandardScaler().fit_transform(df_img[['left', 'top']].values)
db = DBSCAN(eps=0.19, min_samples=10)
db.fit(X)
y_pred = db.fit_predict(X)
plt.figure(figsize=(10,6))
plt.scatter(X[:,0], X[:,1],c=y_pred, cmap='Paired')
plt.title("Clusters determined by DBSCAN")
df_img['cluster'] = pd.Series(y_pred)
df_img.groupby(['cluster'])['char'].apply(lambda x: ' '.join(x)).reset_index()
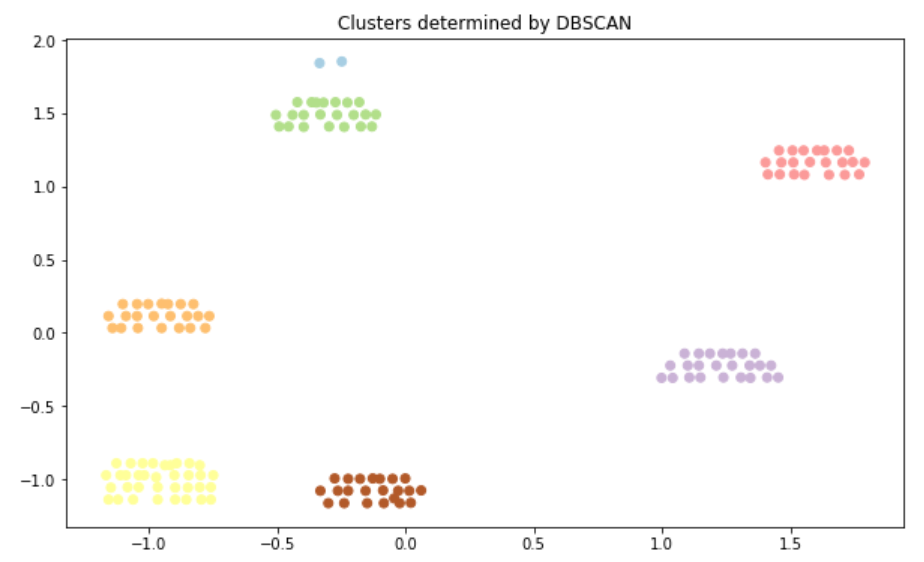
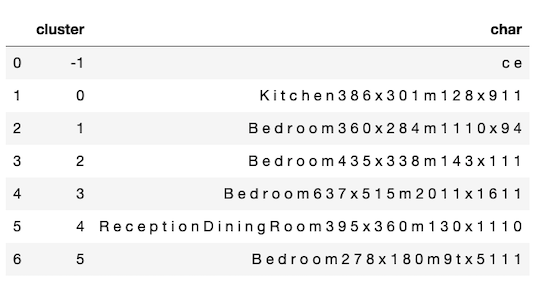
We can see from the images above that the clustering algorithm worked very well in grouping the characters on the floorplan image. However, it still requires some further cleaning and processing.
Step 4: Process Clusters
Usually, on a floorplan, we have the type of the location (bedroom, kitchen, garden etc.), its dimensions in metres and finally in foot. With this information, we can assume that the first time we see a digit for a cluster is the minimum horizontal level we can concatenate the texts. In other terms, within a cluster, if there is a digit on a level below the level of first occurence of a digit, this is probably a square footage information. Let’s drop all the square footage (not metre) rows from our data frame.
df_cc = df_img.copy().reset_index(drop=True)
for cluster_no in df_cc['cluster'].unique():

    index_char_top_list = []

    # if the data point is not an outlier
    if cluster_no!=-1:

        index_char_top_list = [
(index, char, top) for index, char, top in


            zip(df_cc[(df_cc['cluster']==cluster_no)].index,
                df_cc[(df_cc['cluster']==cluster_no)]['char'].values,
                df_cc[(df_cc['cluster']==cluster_no)]['top'].values)
if
char.isdigit()
]
    if index_char_top_list:

        df_cc = df_cc[
~ ((df_cc['cluster']==cluster_no) & (df_cc['top'] <= ( index_char_top_list[0][2] - 5 )))
]
df_img.shape[0], df_cc.shape[0]
# (149 rows went down to 104 rows)
Let’s create a function that can parse a string of digits into width, length dimensions.
def dimension_splitter(input_text):

    input_text_len = len(input_text)
    if input_text_len%2==0:
        split_text_by = int(input_text_len/2)
    else:
        split_text_by = int(input_text_len/2+0.5)

    dim1 = input_text[:split_text_by]
    dim2 = input_text[split_text_by:]

    dim1 = float('{}.{}'.format(dim1[:-2], dim1[-2:]))
dim2 = float('{}.{}'.format(dim2[:-2], dim2[-2:]))
return dim1, dim2
Let’s group the cleaned cluster data frame and bring the dimension columns.
df_cc_grouped = df_cc.groupby(['cluster'])['char'].apply(lambda x: ' '.join(x)).reset_index(name='text')
df_cc_grouped['text_digits'] = df_cc_grouped.apply(lambda x: ''.join([y for y in x['text'] if y.isdigit()]), axis=1)
df_cc_grouped['text_digits_len'] = df_cc_grouped.apply(lambda x: len([y for y in x['text'] if y.isdigit()]), axis=1)
df_cc_grouped = df_cc_grouped[(df_cc_grouped['cluster']!=-1) &
                              (df_cc_grouped['text_digits_len']>=5)].reset_index(drop=True)
df_cc_grouped['room'] = df_cc_grouped.apply(

    lambda x: x['text'][:[x.isdigit() for x in x['text']].index(True)].strip()

                                                      , axis=1)
df_cc_grouped['length'] = df_cc_grouped.apply(lambda x: dimension_splitter(x['text_digits'])[0]

                                                      , axis=1)
df_cc_grouped['width'] = df_cc_grouped.apply(lambda x: dimension_splitter(x['text_digits'])[1]

                                                     , axis=1)
df_cc_grouped['surface'] = np.round(df_cc_grouped['length'] * df_cc_grouped['width'], 2)
df_cc_grouped
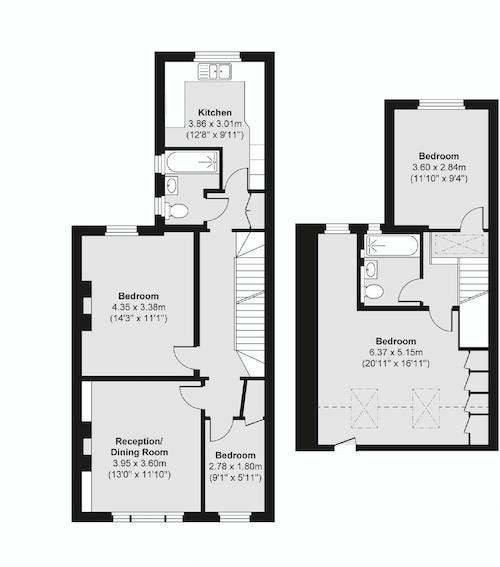

We could extract all the square metre information correctly. Let’s see whether our logic will work on other images.
Tests
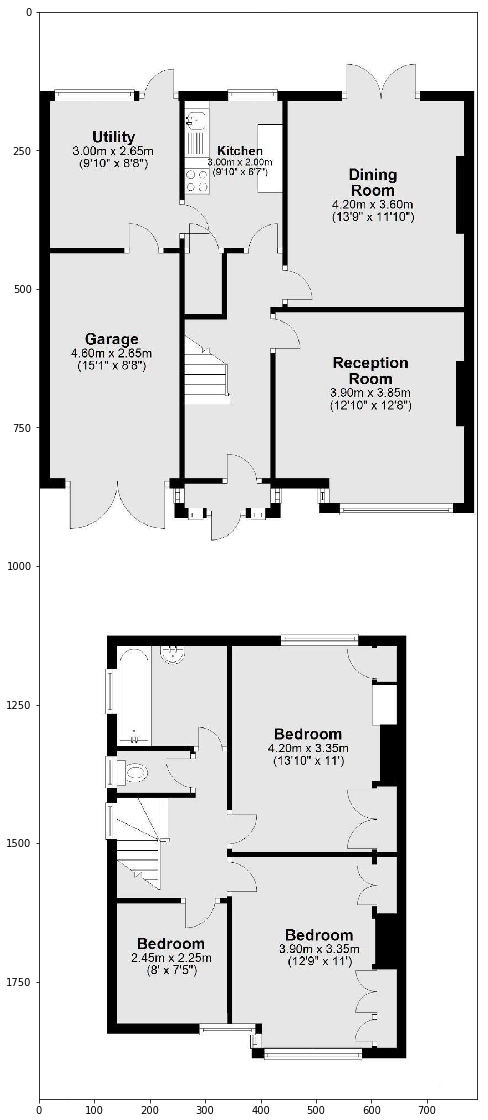
In test no 1 during the detection step, pytesseract misread some of the letters in the “reception room” and added an extra “a” before detecting Utility. However, after that, unsupervised learning worked as expected and revealed all the information correctly.
img_test1 = cv2.imread('Dummy Floorplanner Test 1.png')
plt.imshow(img_test1)
df_cc_grouped_test1

Test no 2 performed without any issues.
img_test2 = cv2.imread('Dummy Floorplanner Test 2.png')
plt.imshow(img_test2)
df_cc_grouped_test2
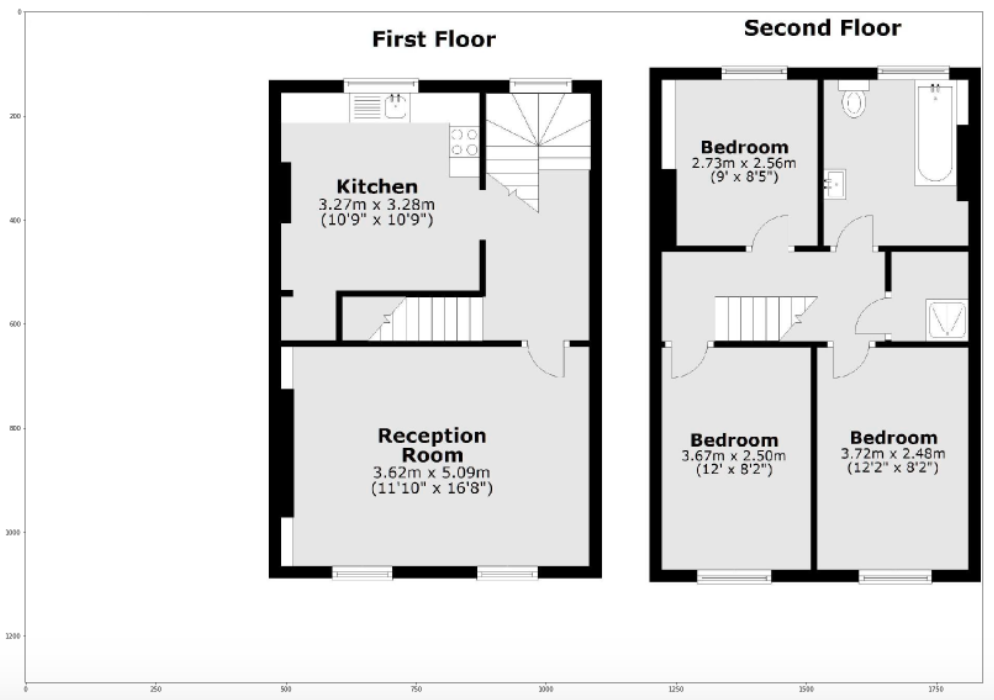

Despite different floorplan layouts (portrait or landscaped oriented), we are able to extract square metre information in most places.
Conclusion
In this post, I demonstrated how one can use an OCR library (pytesseract) to detect letters and numbers on a property floorplan, then use an unsupervised learning algorithm (DBSCAN) to gather relevant information together to find square metre information of every room.
If the pytesseract can detect the characters correctly, we can find the square metre split of the property without any issues. We took advantage of the fact that the UK based property floorplans have nearly the same structure: (i) the type of the room, underneath the dimensions in (ii) metre, underneath (iii) in foot. However, this script needs further development to process a floorplan image that has a different structure or make some scientific guesses on the missing / undetected data.
Thanks for reading!
Finding m² details on a floorplan using unsupervised learning was originally published in Towards Data Science on Medium, where people are continuing the conversation by highlighting and responding to this story.
from Towards Data Science - Medium https://ift.tt/GhcMFmp
via RiYo Analytics

No comments