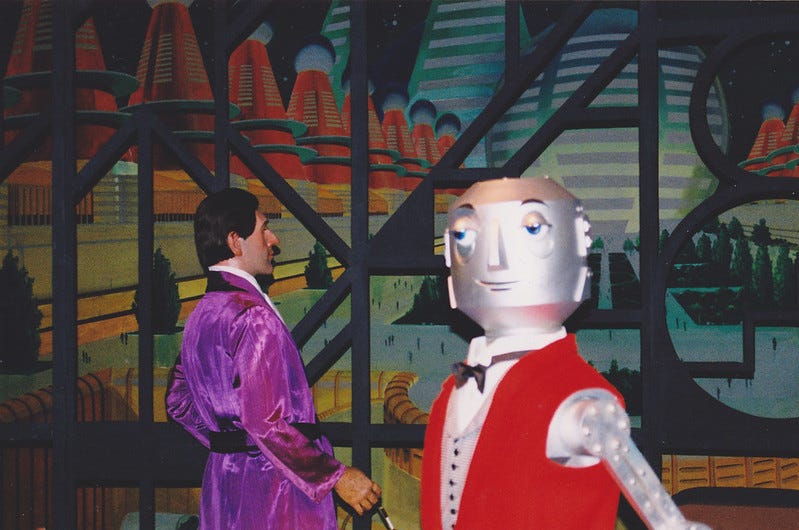
https://ift.tt/3kAtzs3 Your first step in becoming a billionaire playboy Your robot butler. Image by Steven Miller If you’re a fan of m...
Your first step in becoming a billionaire playboy
If you’re a fan of movies like Iron Man, you’ve probably fantasised about getting your very own Jarvis. Well, in this post, I’m going to show you how you can get started making your own computer assistant. We’ll do so with a little programming and some smart python packages doing data science under the hood.
Now, making something as complicated as a super-intelligent AI is hard, too hard for me to do in a single post or most likely even in general. However, what we can do is break this problem up into smaller sections, making the problem seem easier. This is something you should do in every one of your projects so as to not get bogged down in all of its complexities all at once.
From my brief thinking on this subject, I believe we can break up a super-intelligent AI assistant into four main parts:
- Text to speech (to get a response)
- Speech to text (to ask for things)
- Come computation to understand our problem and create a response
- Turn responses into actions in the real world
In today's post, I’m going to focus on the text to speech aspect of our computer assistant, allowing our computer to talk with us. If all goes well, I’ll build on this post in the future, making our assistant ever more complicated and useful.
Finding a text to speech library
Now, one huge benefit of doing something like this with python is that we have a huge selection of libraries to use to get things done fast. After all, if we develop every single bit of this from scratch, we’d be here so long that we’d never get anything done. Let us instead stand on the shoulders of giants and use python packages.
For text to speech, there are a few python packages that stand out from the crowd:
- Google text to speech (gTTs), and
- pyttsx3 (I dont know what the hell that stands for).
Google Text To Speech is a Python library to interface with Google Translate’s text to speech API. It has the performance of Google’s own text to speech apps, but requires an internet connection to be used.
pyttsx3, on the other hand, is a text to speech conversion library that looks for text to speech engines pre-installed on your platform and uses them. Consequently, it works off-line.
Here are the text to speech engines it uses on major operating systems:
- SAPI5 on Windows
2. NSSpeechSynthesizer on MacOSX
3. espeak on every other platform
Looking at the two, I don’t want my assistant to be dependent on Google or an online connection to work. I’d much rather use pyttsx3 and have everything running on my own machine.
Setting up the project
Now, before we get started running everything, let’s set up our project.
We will be doing everything through a text editor and terminal. If you do not know what that means, then a text editor I recommend for people getting started is vscode and a terminal is usually built into your text editor (like in vscode) or is a program on your computer called “terminal” or “cmd”.
Now, I want you to open your terminal and change directory to where you keep your projects, e.g. with
cd ~/projects
Next, we will need to create a directory to store our project. This is completely up to you, but I want my assistant to be called Robert. So, I’m creating a new directory called “robert” and then changing into that directory with
mkdir robert
cd robert
You can change the name to whatever you like, e.g. Brandy or Kumar or something.
Next up, we need to get python up and running. For this, we will need python 3 installed. If you don’t have this installed, see https://www.python.org/ for installation instructions. We will also need to create a python virtual environment. If you want to learn more about this, see here for one of my recent posts.
Assuming you have python installed, which you can verify in the terminal with
python3 --version
You should now be able to create your python virtual environment inside your robert directory with:
python3 -m venv venv
Note, if the version of python you installed is called python, python3.7or python3.9 or anything else, then use that
You should then be able to activate your virtual environment with the following:
(on MacOS and Linux)
source venv/bin/activate
or (Windows)
venv\Scripts\activate
We now need to install our required packages. To do this, we will create a requirements.txt file. Go to your favourite text editor, e.g. vscode or, if you’re adventurous, vim, open your “robert” folder and create that file now.
For our project, we so far, only need pyttsx3. Easy. Let’s add that to our requirements.txt file now like the following
Next, let’s install our requirements using pip
pip install -r requirements.txt
Using pyttsx3
Now that everything is installed, let’s get working with pyttsx3. To understand what to do, I checked out the docs found here.
You can then make a nice example by creating a file called speech.py and adding the following code:
We first import pyttsx3 to load all of its classes and variables. We then initialise the speech engine, set a voice we want and then the text we want to say. We finally use engine.runAndWait() to speak.
We can then run this file with the below command in the terminal:
python speech.py
Play around with this and change the text_to_say variable. You should be able to say anything you like.
Cool tweaks
Now that we have something working, let’s give our assistant some tweaks. Pyttsx3 lets us adjust both voice and speed.
In the above example, you could change the voice_num to a different number to get a new voice. From my testing, this appears to be platform dependent (probably dependent on your platform having SAPI5, NSSpeechSynthesizer or espeak).
I created this monster of a file (you’ll see why when lots of robotic voices talk to you in weird accents) to help you decide what voice is best for you. Once you find the voice number you like, swap out the number for that found in the voice_num variable.
Next steps
Congratulations for reaching the end. If you have any questions or just want to say hi, please post them below.
I recommend you check out the below links if you want to read further and get a head-start with upcoming posts.
- https://www.geeksforgeeks.org/python-text-to-speech-by-using-pyttsx3/
- https://realpython.com/python-speech-recognition/
For my next post, I’ll be focusing on speech to text, so our assistant can respond to our commands 🤖. Give me a follow to make sure you don’t miss it.
How to Make your Computer Talk with Python was originally published in Towards Data Science on Medium, where people are continuing the conversation by highlighting and responding to this story.
from Towards Data Science - Medium https://ift.tt/3wOvDBF
via RiYo Analytics


No comments